

A flatpack wardrobe can look straightforward until one missing cam lock, loose back panel or mixed bag of screws turns moving day into a problem. Knowing how to dismantle flatpack furniture properly protects the piece, makes it easier to carry, and saves a lot of frustration when it is time to put it back together.
Not every item needs to come apart. Small bedside tables, sturdy bookcases and compact drawer units may travel safely as they are if they fit through doorways and can be carried without strain. Larger wardrobes, beds, desks and entertainment units are usually better dismantled before the truck arrives. The decision comes down to access, weight, condition and how well the furniture was assembled in the first place.
Decide whether dismantling is worth it
Flatpack furniture is designed to be assembled in a room, not always moved through a narrow hallway, stairwell or lift. Taking it apart reduces awkward lifting, helps prevent damage to walls and door frames, and frees up room in the truck.
There is a trade-off. Particleboard and MDF can weaken when fittings are removed and reinserted repeatedly, especially if the screw holes are already worn. A cheap or ageing unit may not survive several full dismantles as well as a solid timber piece. If it is structurally sound, too large to move safely intact, and worth keeping, dismantling is the sensible option.
Before starting, measure the furniture and the tightest points it must pass through: doorways, corridors, stair landings and lifts. Remove drawers and adjustable shelves first, then reassess. Sometimes that is all that is needed to make an item manageable.
Tools and supplies to prepare
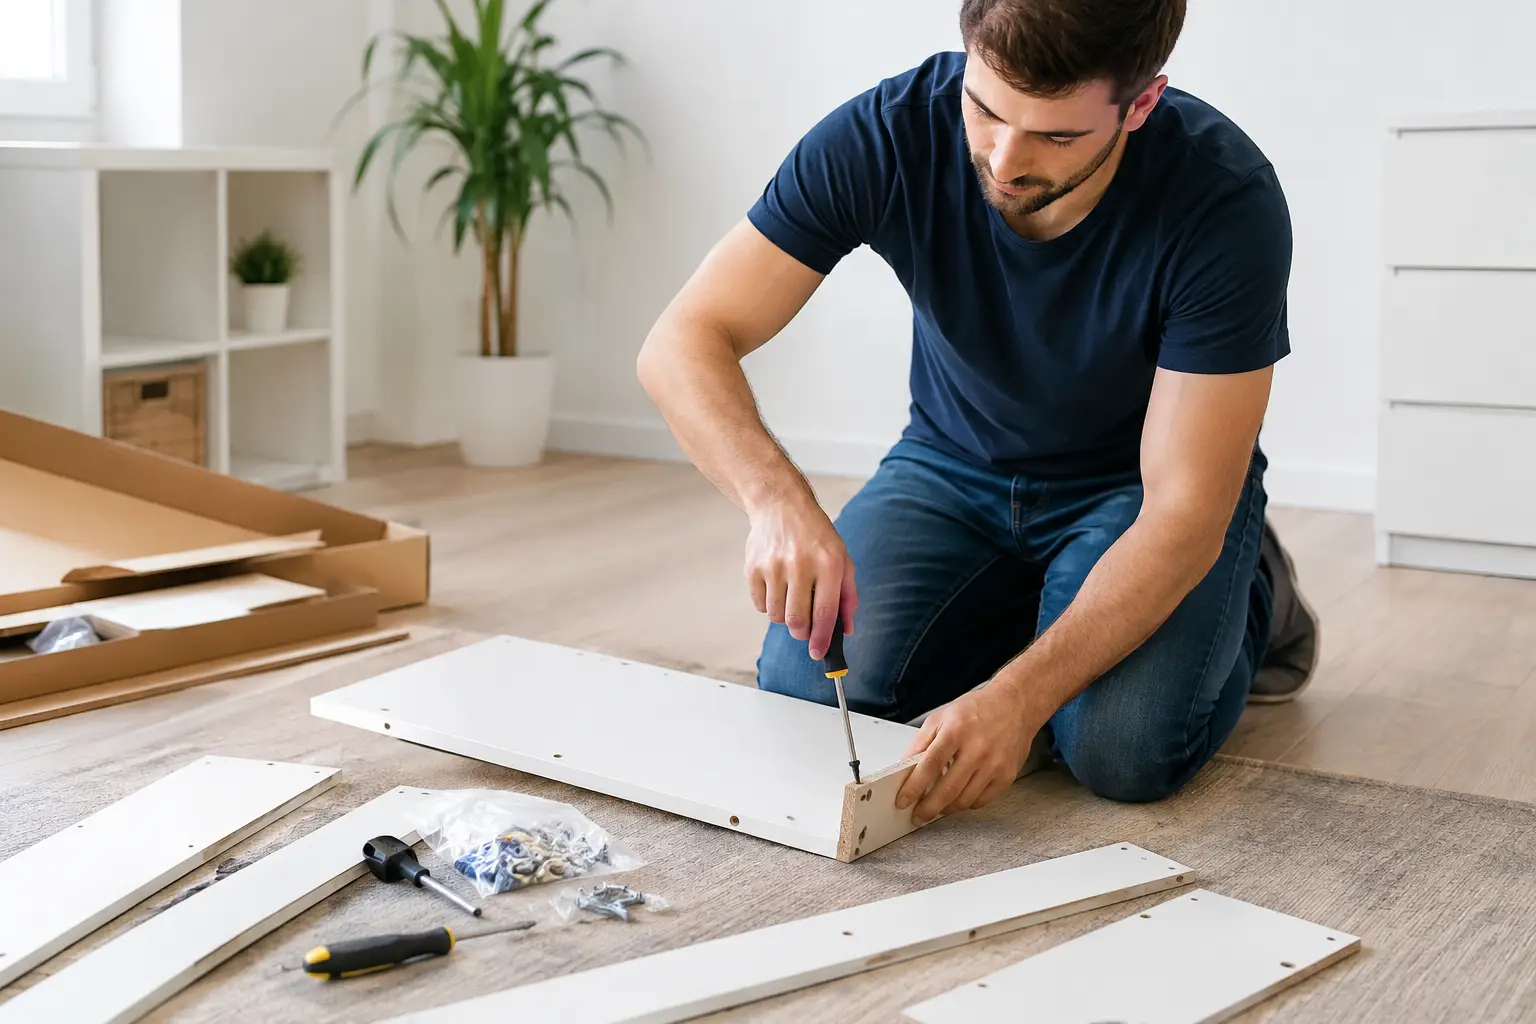
Set up a clear work area before you remove the first fitting. Keep children and pets away from the space, and avoid working on a hard surface that could scratch panels. A rug, moving blanket or flattened cardboard box makes a useful protective base.
You will generally need a screwdriver with interchangeable heads, an Allen key set, a small adjustable spanner, a hammer for dowels only if required, zip-lock bags, masking tape, a marker, and a mobile for photos. A cordless drill can speed up the job, but use it carefully. High torque can strip screws or tear out fittings in particleboard.
Have packing materials ready as well. Moving blankets, cardboard corner protectors, stretch wrap and tape will keep dismantled panels from rubbing together in transit. Do not tape directly onto a delicate veneer or painted finish, as adhesive can lift the surface.
Photograph the furniture before and during the job
Take wide photos of the completed item, then close-up shots of hinges, drawer runners, brackets and unusual fittings. Photograph each stage before removing a major panel. These images are often more useful than an old instruction booklet, particularly where several similar panels look identical.
If you still have the assembly instructions, keep them with the hardware bag. If not, your photos and labels will become the reassembly guide.
How to dismantle flatpack furniture step by step
Start by emptying the furniture completely. Remove books, clothing, electronics and loose decorative items. Drawers should be emptied rather than carried full, as extra weight can damage runners and makes the unit unsafe to lift.
Next, remove any detachable parts that are likely to shift. Take out shelves, drawers, doors, handles and hanging rails. Put screws for each component into separate labelled bags, such as “wardrobe doors” or “top drawer runners”. Tape each sealed bag to the relevant panel where practical, or place all labelled bags in one clearly marked box that travels with you rather than in the truck.
Work in the reverse order of assembly wherever possible. For a wardrobe, that usually means doors and internal fittings first, then the back panel, top, base and side panels. For a bed frame, remove the mattress, slats, centre support and headboard before undoing the main rails.
Turn cam locks only as far as needed to release the joining bolt. Forcing them past their release point can crack the surrounding board. Pull panels apart slowly and evenly. If they resist, check for hidden screws, brackets or dowels instead of levering them apart with a screwdriver.
Keep fittings organised from the start. This is where most reassembly problems begin. A bag of mixed screws may look manageable at 9 am, but it is much less helpful after a long move when every fastener appears almost identical.
Label every panel, not just the hardware
Use small pieces of masking tape on the inside or hidden edge of each panel. Write simple notes such as “left side – inside”, “top – front” or “desk back panel”. Add arrows to show which edge faces up or forward.
Avoid writing directly on laminate or veneer. Marking the concealed side of a panel with tape means the labels can be removed once the furniture is rebuilt.
For pieces with a thin backing board, label it clearly and keep it flat. These panels are easy to bend, but they provide crucial bracing. A wardrobe or bookcase can feel wobbly if the back is reinstalled upside down, off-centre or without enough fixing points.
Protect panels for transport
Dismantled does not automatically mean protected. Flatpack panels chip easily along exposed edges, and corners can swell if they come into contact with moisture. Wrap each large panel in a moving blanket or cardboard, paying special attention to corners and finished faces.
Stack panels vertically against a stable surface in the truck where possible, rather than laying a heavy pile flat. Use straps to stop them shifting. Keep hardware separate from fragile surfaces, and do not place boxes of books or appliances on top of particleboard panels.
Glass doors, mirrors and glossy tabletops need extra care. Remove them only if the fittings allow it without force, wrap them individually, and transport them upright with padding on both sides. If there is any doubt about handling a large glass component, it is safer to leave the job to trained removalists.
Common mistakes that damage flatpack furniture
The biggest mistake is rushing. Flatpack fittings can look simple, but a wrong turn of an Allen key or a forced panel can cause permanent damage. Keep the work methodical and stop when something does not release as expected.
Avoid dragging panels across concrete, tiles or a rough driveway. Even a small scrape can expose the particleboard beneath the laminate. Do not rely on old glue joints to hold while you lift a partly dismantled unit, either. Once the main connectors are loosened, support the panel with another person.
Also resist the temptation to throw away “spare” fittings. Manufacturers often include a few extras, but it is easy to mistake a necessary connector for a spare when several furniture items are being packed at once. Keep every fitting until the piece is fully reassembled.
When to leave it to professional movers
Some furniture is not worth attempting alone on moving day. Large wardrobes, wall units, heavy bed frames, office workstations and items on upper floors can require two or more people to dismantle and carry safely. The risk is not only damage to the furniture. Strained backs, crushed fingers and damaged walls can cost far more than getting help.
Professional removalists can assess whether an item should be dismantled, moved intact or partially disassembled. This is especially useful for Melbourne apartments with lift bookings, tight access or strict building timeframes. A planned approach keeps the move moving rather than holding up the truck while someone searches for the right screw.
Blaze Removals can assist with furniture dismantling, protective packing and reassembly as part of a residential or office move. It is a practical option when access is difficult, the item is valuable, or you simply want the job handled safely and on schedule.
Before reassembly at your new place, let panels acclimatise if they have been exposed to rain or damp conditions. Build the item on a clean, protected surface, follow your labels and photos, and tighten fittings gradually rather than all at once. A few careful minutes at each stage will give your furniture the best chance of standing straight, staying stable and serving you well after the move.